Step by step animation with Toby Gutmann (WIP title)
Posted: 18th March 2021 | 5 minute read
Toby Gutmann is a Bristol based animator **Need blurb about TOby**
Toby takes us through a step by step of how to bring an illustration to life in After Effects **Need intro**
Step 1 - Illustration
Whilst scrolling through Instagram I saw an illustration of a bike with some scenery in the wheels and really liked the way it looked. After making a mood board of some idea’s including different backgrounds and landscapes, I narrowed it down to just a few. I found the bike illustration on Envato Elements when I was collecting some assets for another project and thought it would be a great fit for this project..
***Needs more on why the illustration would work well or why you chose it***
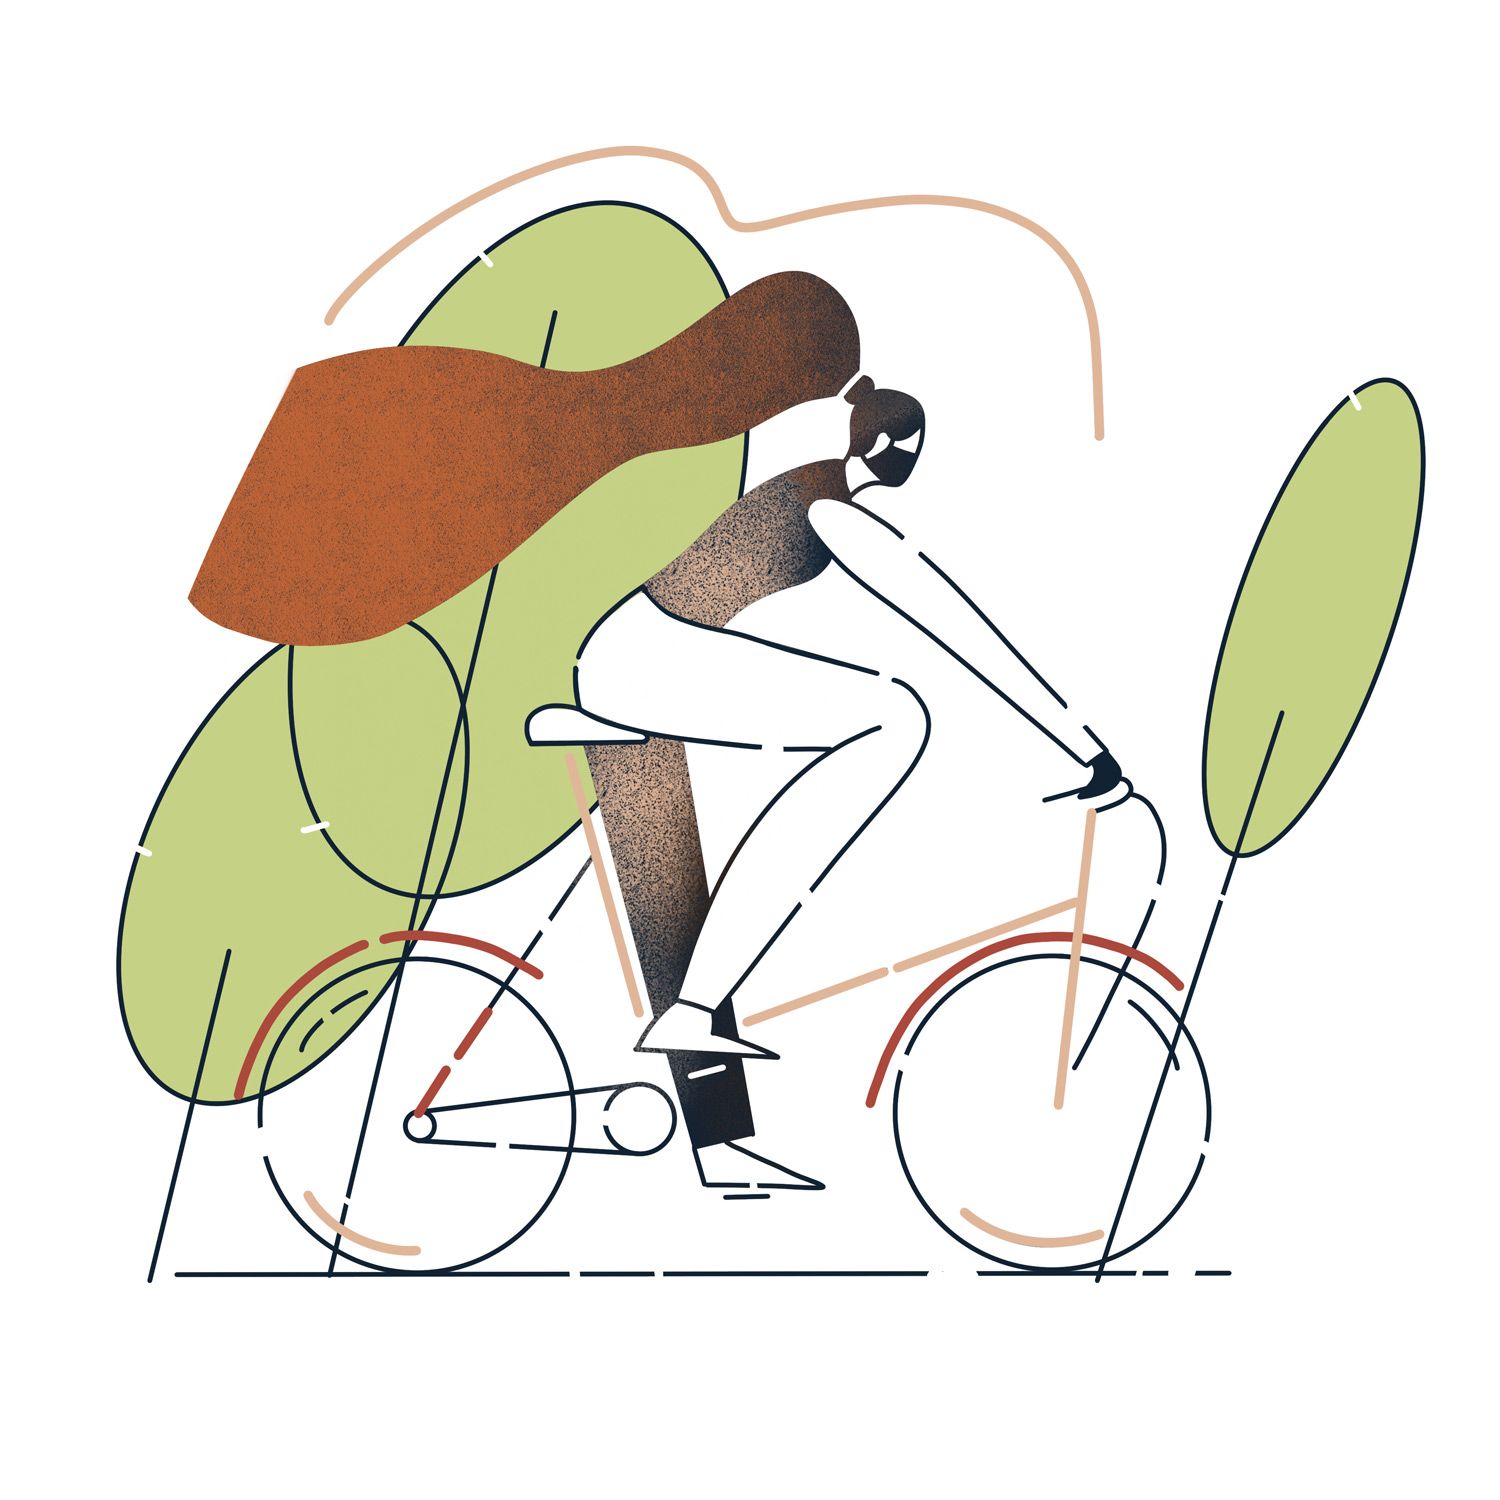
"When working with animation it's best to choose an image that xxx"
Step 2 - Roughs?
Start by drawing some rough movements in Adobe Animate (AN), which don’t need to be perfect as they are redrawn later in After Effects (AE). I prefer to draw the roughs on 2’s which means a new drawing every 2 frames, as opposed to every frame (This saves a lot of time when cleaning up in AE, but is also a stylistic preference).
Once you've drawn the basic line of the leg, create a second set of drawings which has the rough leg shape over the top. For most cycles (walk, run etc), the second leg is simply a repeat of the first one, set back halfway which is why you only needed to draw one leg. I then published these from AN as flash files (.swf) as this means I'm able to move them into AE easily.
AnimDessin2 is a great free plugin for Photoshop (PS) that enables you to follow the same method but without AN. Timelord by Battle Axe is incredible for working with PS and AE, however this plugin requires purchasing. I use Overlord (Battle Axe) on almost everything I create as it allows you to move between Illustrator (AI) and AE seamlessly.
.
Step 3 - Clean ups
In AE drag the drawings you've previously created in AN into the composition and started to replicate the leg with a shape layer on the first frame. Then keyframe the path and go through every other frame, moving the shape to correspond with the roughs. Once one leg is done, duplicate the layer and move it below, dragging the layer back halfway (12 frames as the whole cycle is 24 frames) this means that both legs move in the same way, but at different times. Using expressions to loop the keyframes means you save a lot of time on copying and pasting as the cycle just repeats.
Once both legs are completed, start to create movement in the head and body, following the movement in the legs. Create the hair using a shape layer and Wave Warp. Then pin it to the head using Offset and use Bezier Warp to adjust the overall shape.
Note: An amazing book that I recommend when learning cycles, movement and looping is ‘The Animator's Survival Kit’ by Richard Williams.
"An amazing book that I recommend when learning cycles, movement and looping is 'The Animator's Survival Kit' by Richard Williams"
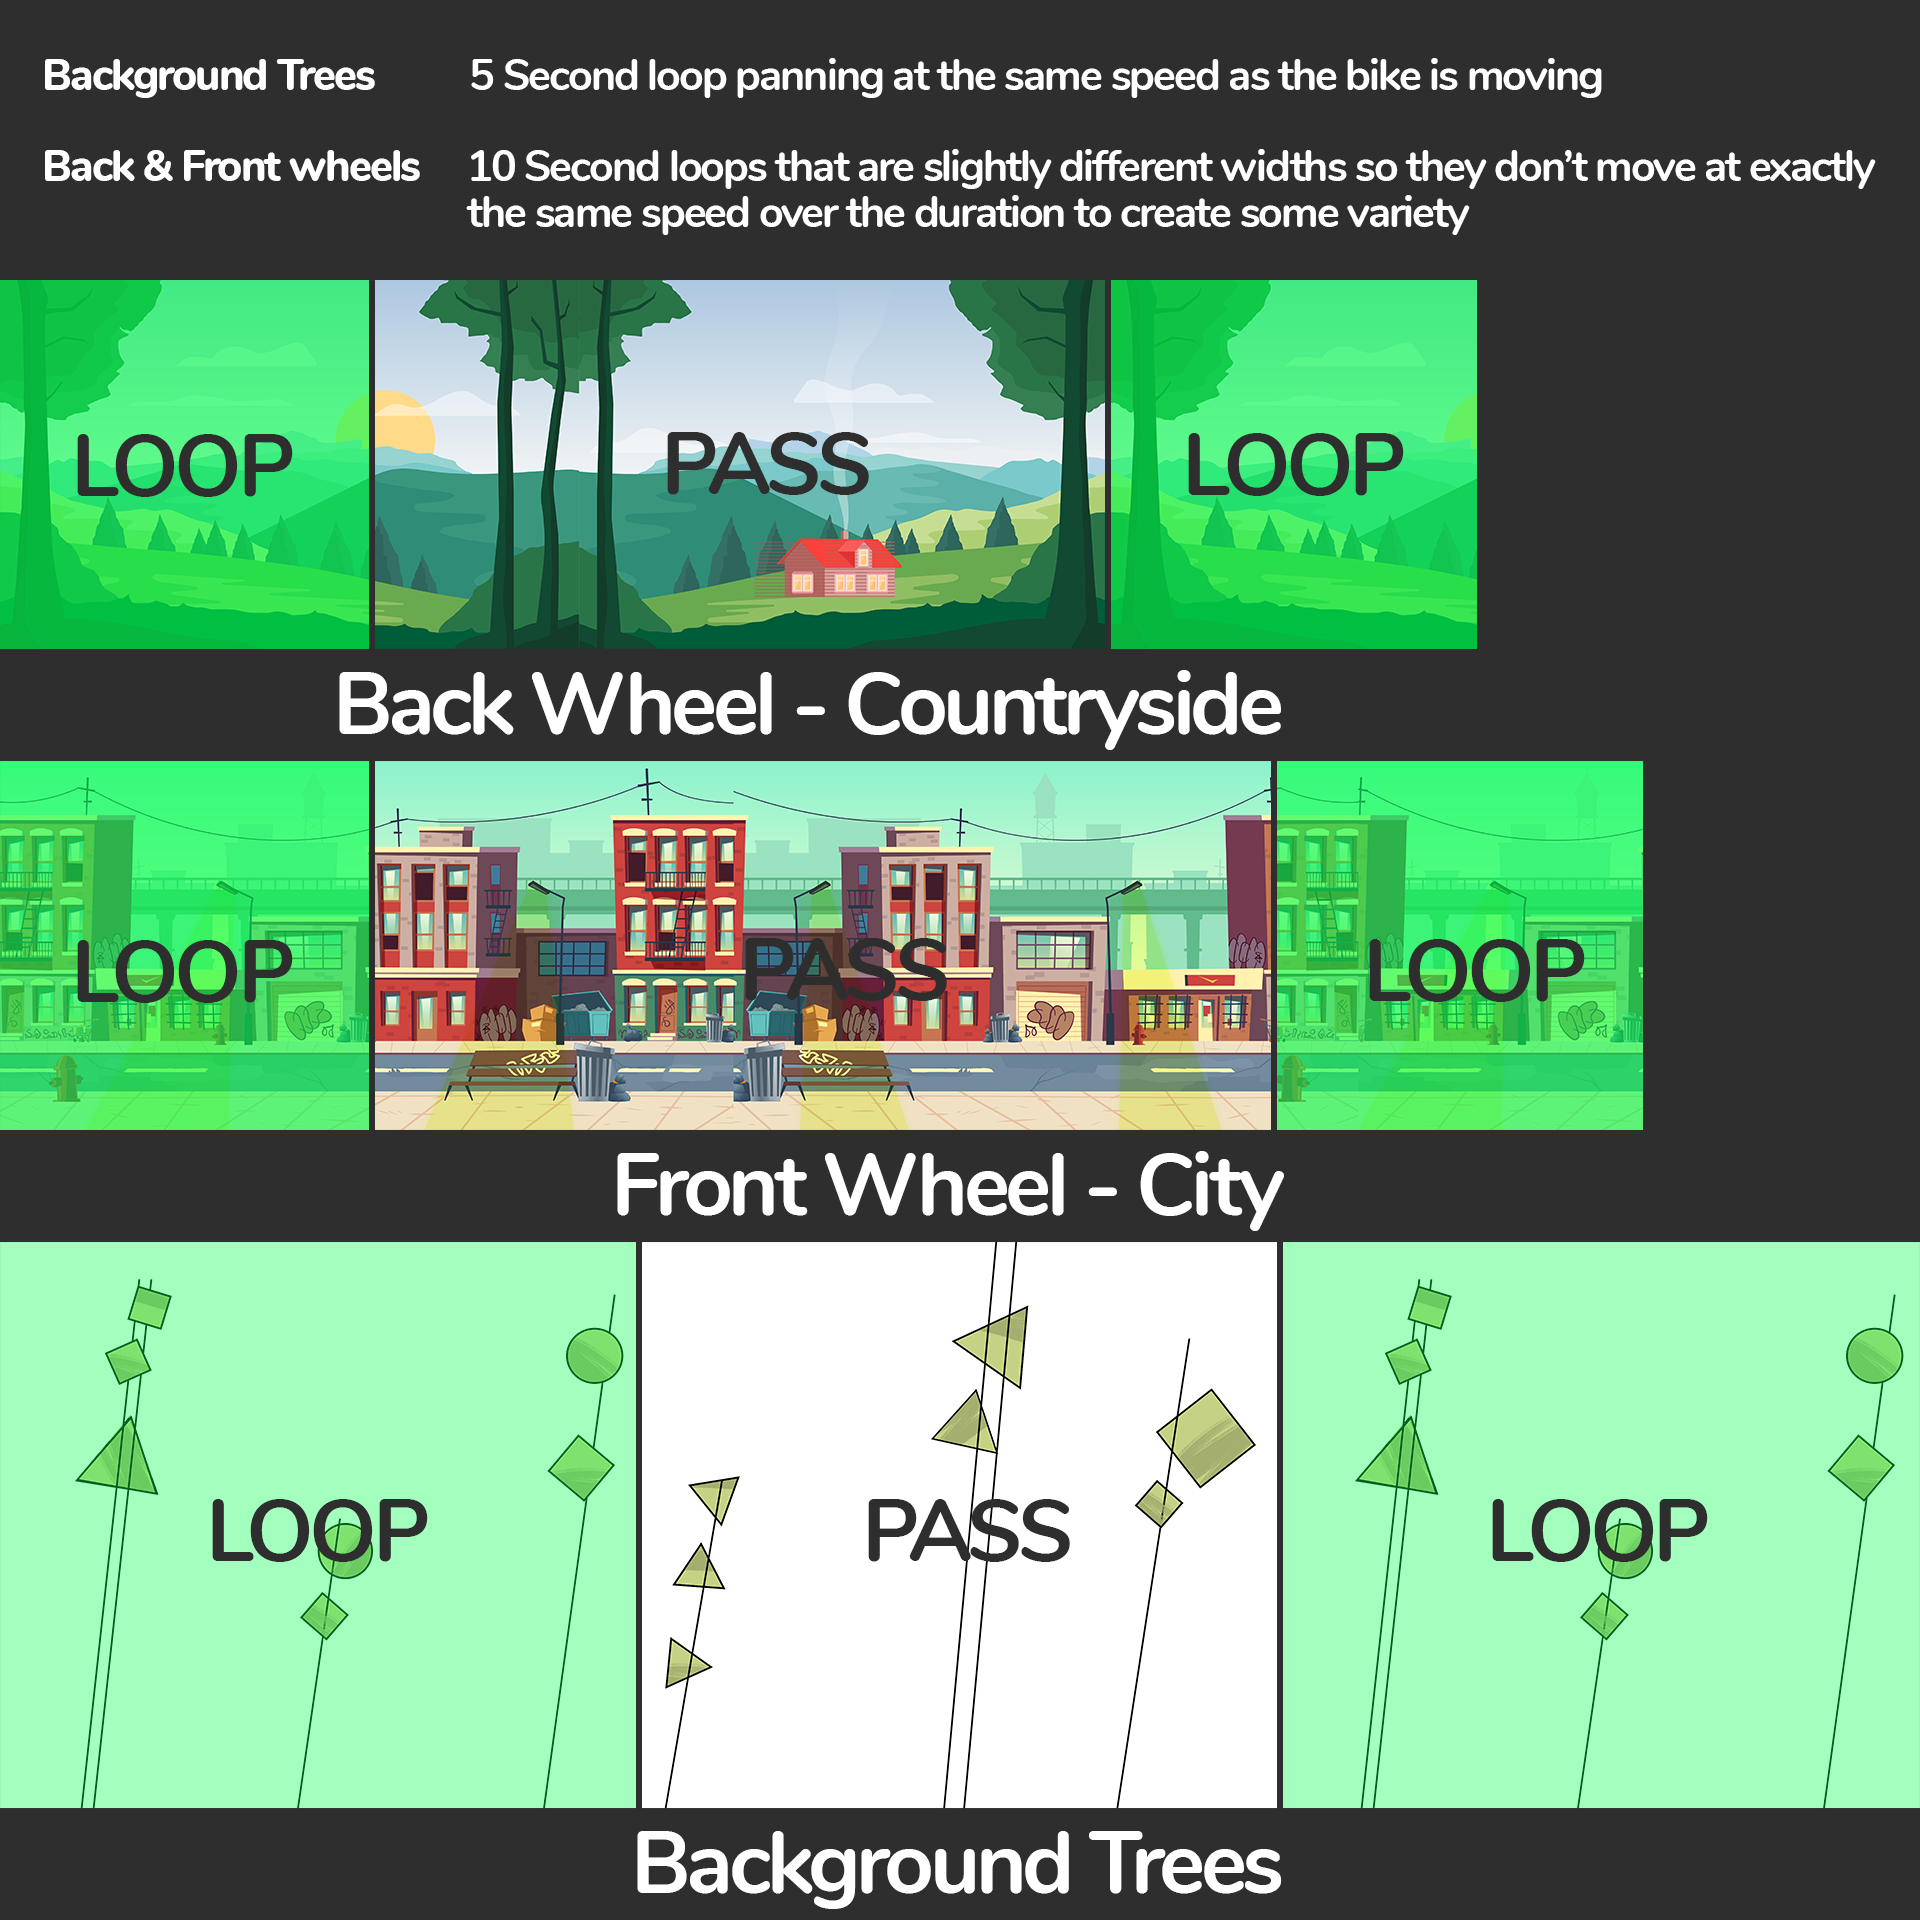
Step 4 - Looping backgrounds
Once your happy with how the character is moving, start to create the looping backgrounds. It’s important that the beginning and end are the same so that it seamlessly loops, then create a pass section in between. The trees I created for the background are in the style of Abramova Yanka (who btw is an incredible illustrator from Ukraine). Make this loop over 5 seconds, similar to the speed of the bike loop. The two backgrounds in the tyres are 10 seconds in order to create variety, these are slightly different widths so that over the course of 10 seconds they move at a slightly different speed.
Step 5 - Textures and effects
Once you've finished both the backgrounds and character cycle loops, go ahead and work on the finer details. Texture and effects are extremely important when bringing an animation to life.
Create a new composition for each texture you want to create, such as the screen print grain I created over the character cycling. On the example shown here I created a new composition and added 16 different screenprints courtesy of Dave Bain, making each of them four frames long and putting them one after the other in order to create an animated texture.
Next add the texture to the main composition and use the Set Matte effect to apply it to the character only. I did the same for the brushed wash over the background, using four different brush strokes in PS and then doing the same as the screen print but changing them every 6 frames, in order to create variety. Add some movement behind the wheels to enhance the effect of them spinning.
On top of that add some old-style film grain over the two looping backgrounds in the wheels and slight grain in the hair, body and back leg. In this example I made this using a shape layer and added the effect Roughen Edges. Add an expression to the Random Seed to make it change every 4 frames.
Lastly, add two adjustment layers at the top of the composition to finish it off. Here I created a ‘boil’ effect using Turbulent Displace and an expression on the random seed again, creating a hand drawn effect that changes very slightly every couple of frames. The other adjustment layer had Posterize Time, setting the frame rate to 12 frames per second, which again is a stylistic choice and fits in with the character animation being animated on 2s.
Final animation
**Add some final words here**
Expressions and effects
xxx.
See more of Toby's work here and find him on instagram here
All imagery copyright Toby Gutmann © 2021
Just Us Newsletter
Get your regular dose of insights and news from Just Us, straight to your inbox.